Code Animation with Claude: From Script to Final Render
Code animation means writing animation as code and rendering it to video. A Claude Code workflow: script, component, render, voice-over.
FacelessReels.tv Team · Updated 2026-11-11
Contents
The clip above is six seconds from our own code engine: a stick-figure explainer drawn frame by frame by code. This page shows a Claude Code workflow for making your own code animation: write the script, let Claude Code build the animation, render it to MP4 and add the voice.
Code animation, defined
Code animation is animation written as code and rendered frame by frame. You do not keyframe it by hand. You describe it, and a renderer calculates every picture.
Every frame is a function of the frame number. A title fades in because its opacity depends on the frame. A character walks because its position does.
Four things follow for a channel:
Exact timing
A shot lasts as many frames as you say.
Same look every episode
A character, palette and font are defined once.
Cheap changes
A typo or a colour is a text edit and a new render.
Ownership
The project is a folder of files on your computer.
Code animation draws shapes, text, diagrams, maps, simple characters and 3D objects. It does not produce realistic people or filmed scenes. For a wider look at turning text into moving pictures, see our guide to text to animation.
Code animation vs AI video generators
An AI video generator predicts pixels; code animation renders rules. Every frame of code animation is exact and re-editable.
| Code animation | AI video generator | |
|---|---|---|
| Text on screen | Always sharp and correct | Can warp or misspell |
| Same look every episode | Yes, by design | Characters can drift |
| Realistic footage | No | Yes, within the model's limits |
| Changing one detail | Edit the code, render again | Often regenerate the clip |
| Cost per attempt | Your computer's time | Usually credits |
Many creators use both: code for the repeatable frame and text, a generated clip for the one scene code cannot draw. If you want to make animated videos without writing any code, start with how to make animated videos.
What you need before Stage 1
You need three things: Node.js, Claude Code and a Remotion project. Everything else on this page is optional.
Node.js
Runs the renderer on your own computer.
Claude Code
Anthropic's coding assistant, part of the paid Claude plans, not the free one. The cost section lists the prices.
Remotion
The library that turns React components into video.
Install the packages in an empty folder:
npm i remotion @remotion/cli @remotion/media react react-domYou also need a voice source for Stage 4, such as a text-to-speech tool whose terms allow commercial use. You can leave that until the last stage.
You do not need to know React. Claude Code reads and writes it for you, but you should be comfortable opening a terminal, running a command and reading an error message. If that is new to you, expect the first project to take the longest.
The Claude Code workflow in four stages
Claude animation, as this guide uses the term, means Claude Code writing the animation code for you. The workflow has four stages: script and storyboard, build the component, render, then voice-over. Do them in this order and check the result of each before the next.
Script
Write a style file once, then get a 60-second scene table.
Build
Ask Claude Code for the shots, a few at a time.
Render
Render after every group of shots and fix errors at once.
Voice-over
Add one audio file per shot, set each shot's length from its audio, then export.
Stage 1: the script and storyboard prompt
Stage 1 turns an idea into a shot list. Ask Claude for the table first, read it, fix it, and only then ask for code.
- You get
- A scene table: shot, duration, visual, narration
- You need
- One topic and a short style file (character, colours, font)
Paste this prompt and fill in the brackets:
You are a short-form video writer. Write a 60-second vertical (9:16) animated short.
Topic: [one sentence]
Audience: [who watches]
Style file: [paste it here]
Rules:
- About 150 words of narration, so it fits 60 seconds.
- Open with a question or surprising claim in the first 3 seconds.
- 10 to 14 shots, none longer than 7 seconds.
- Only visuals that can be drawn with shapes, text and simple characters.
- Do not invent statistics, quotes or sources.
Output only a table: shot | duration | visual | narration. Durations add up to 60.
Write the style file once, before the first prompt. It is a short note that fixes what stays the same in every episode:
- Character: shape, size and outline width.
- Palette: exact colour codes for the background, text and accents.
- Font: one font whose licence allows commercial video.
- Camera: how it moves and how fast.
A vague style file is the usual cause of episodes that drift apart. Exact values give Claude nothing to guess.
This is the kind of table Claude returns. The rows are an illustration, not output from a real run:
| Shot | Duration | Visual | Narration |
|---|---|---|---|
| 1 | 3 s | Black screen, a glowing circle appears | What if the Moon vanished tonight? |
| 2 | 5 s | Earth with the Moon fading out | Moonlight would be gone. |
| 3 | 5 s | Waves shrinking on a coastline | Tides would get much weaker. |
Check three things in the table: the durations add up, the narration is short enough to say aloud, and every visual can be drawn. For a stick-figure look, see stickman animation for what the format needs from a script.
Stage 2: build the animation in code
Stage 2 is where Claude Code writes the component. You approve it in the browser before anything renders.
- You get
- One component per shot, driven only by the frame number
- You need
- The approved scene table and your style file
Give Claude Code the table and the style file and ask for a small Remotion project for 1080 by 1920 at 30 frames per second. Ask for shots 1 to 3 first, as separate components.
Here is the scene table and the style file. Create a Remotion project, 1080x1920 at 30 fps. Build shots 1 to 3 as separate components driven only by the current frame number. Reuse the palette and character rules from the style file. Run the preview and fix any error before you show me.
A shot is a small component like this one:
import {AbsoluteFill, interpolate, useCurrentFrame} from 'remotion';

export const Shot = ({text}: {text: string}) => {
  const frame = useCurrentFrame(); // the only clock
  const opacity = interpolate(frame, [0, 15], [0, 1], {extrapolateRight: 'clamp'});
  return (
    <AbsoluteFill style={{background: '#0b1020', justifyContent: 'center', alignItems: 'center'}}>
      <h1 style={{color: '#fff', fontSize: 96, textAlign: 'center', opacity}}>{text}</h1>
    </AbsoluteFill>
  );
};
You do not have to write this yourself. Claude Code writes it, wires the shots together and opens the Remotion preview.
Review each group of shots in the preview before you ask for the next. Look at the timing, the text on screen and whether the character matches the style file. Then ask for the changes in plain language, for example "make shot 2 last 1.5 seconds longer" or "use the accent colour for the headline".
Ask for one kind of change at a time so you can tell what caused a problem. Because the animation is code, a change is cheap: to lengthen shot 2, you change one number.
Stage 3: render to MP4
Stage 3 renders the approved component to an MP4 with one command. Render a few seconds first, then the whole video.
- You get
- An MP4 file in the out folder
- You need
- A component that plays correctly in the preview
npx remotion render src/index.ts Short out/short.mp4Remotion encodes H.264 video by default, which is what YouTube Shorts, TikTok and Instagram Reels accept. A 60-second video at 30 frames per second is 1,800 frames, and every frame is drawn by a headless browser, so heavy scenes take longer than plain text. Render the first seconds, time them, and simplify the slowest scene before you render the rest.
Check the file once it exists: it should open in any player, show the right size and have no black frames at the start or end. If something is wrong, fix it in the component and render again. Nothing is lost, because the animation is the code, not the file.
Stage 4: add voice-over and captions
Stage 4 adds the voice-over and the captions that make the clip watchable on mute. Set the picture from the sound, not the other way round.
- You get
- A narrated MP4 with burned-in captions
- You need
- One audio file per shot, from a voice tool whose terms allow monetised video
- Generate one audio file per shot from the narration column.
- Measure each file's length (for example with
ffprobe). - Set each shot's duration to its audio length plus a short pause.
- Put the audio in the same shot component with Remotion's
Audiocomponent, so sound and picture move together.
Narration that is cut off is worse than half a second of extra picture. Before you upload, check the export: 1080 by 1920, H.264 video, AAC audio, under the platform's length limit, with key text away from the top and bottom edges where app buttons sit.
Code animation examples made with our code engine
These are clips from our own code engine, not from the Claude Code workflow above. They show what code-drawn video looks like at full length, and each one links to its page.
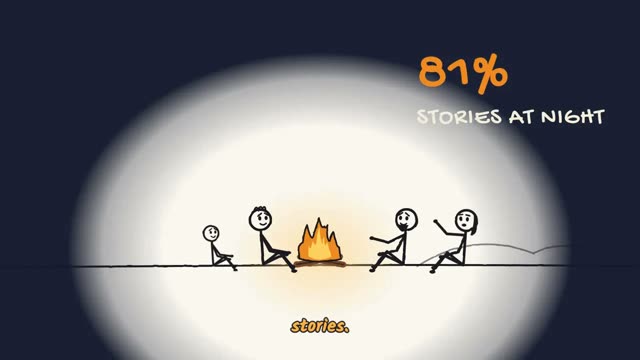
Stick-figure explainer
Hand-drawn stick figures explaining one question. See sketch animation.
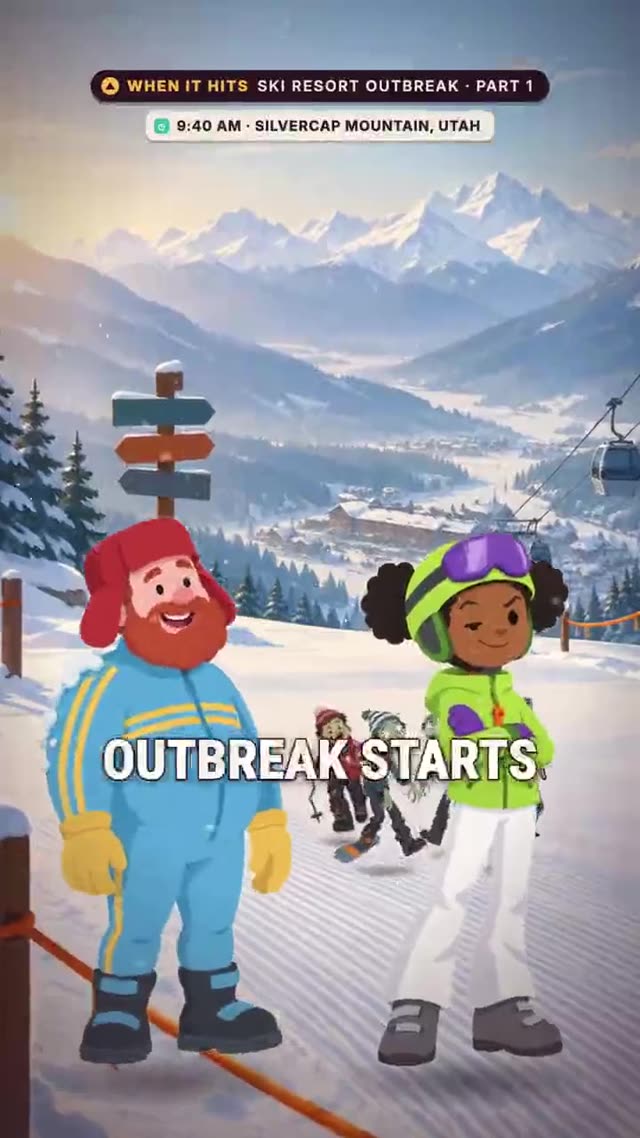
What-if story
An illustrated what-if scenario with narration. See what if scenarios.
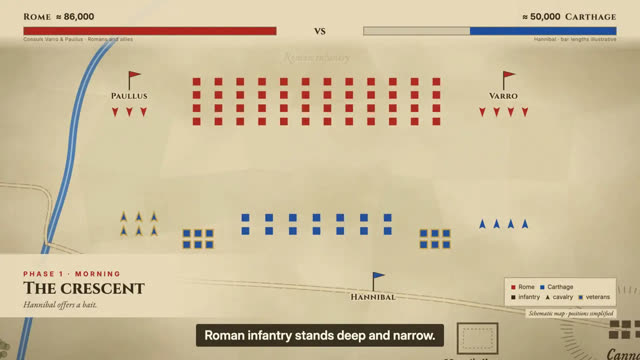
Battle map
A map that moves as the battle unfolds. Our battle-maps format is built the same way.
All three keep the same look from one episode to the next, which is the main reason to draw a series from code. A character, a map style or a colour palette is defined once, and every new episode reuses it.
Changing the script changes the picture; nothing has to be drawn again.
You can build the same kind of project with the workflow above. Start with one shot, get it to look right, and only then repeat it across a script.
When the render breaks: common fixes
Most failed renders come from a small set of causes. These are general fixes for Remotion projects, not a log of our own runs.
| Symptom | Usual cause | Fix |
|---|---|---|
| Blank or frozen render | The scene reads the system clock or a random number | Drive every movement from the frame number; seed any randomness |
| Different result each render | Unseeded randomness | Use a fixed seed |
| Font or image missing | File loaded from a path that exists only in the preview | Put assets in public/ and load them with staticFile |
| No audio, or out of sync | Audio not inside the shot, or the shot is shorter than its narration | Put Audio inside the shot; set its length from the audio |
| Very slow render | Heavy effects, large images or many layers on every frame | Render a few seconds first, then simplify the slowest scene |
| Claude's reply is cut off | A whole project in one reply | Ask for the skeleton first, then shots in groups |
If a command is not found, install it and check it works in the same terminal before you render.
What code animation costs
Doing it yourself costs a Claude plan plus, in some cases, a Remotion licence. At the time of writing, these are the public prices.
Claude
Claude Code is included in Pro and Max, not in Free. Pro is listed at $20 a month, or $17 a month with an annual plan; Max starts at $100 a month. See Claude's pricing.
Remotion
Free for individuals and companies of up to three people, including commercial use. Larger companies need a company licence, listed from $25 a month per seat. See Remotion's licence.
Your time
The first project takes longest. Later episodes reuse the same style file and components.
If you would rather not run the tools yourself, see faceless video pricing.
Who code animation is for
Code animation fits creators who ship video on a schedule and want every episode to look the same. It is overkill for one graphic a year.
It suits explainers, stick figures, charts, maps and story cards. It is a poor fit for realistic people or filmed scenes.
Ask yourself three questions before you start:
Will I publish more than a handful of videos in the same look?
Can every scene be drawn with shapes, text or simple characters?
Am I willing to read an error message and ask Claude Code to fix it?
If the answer is yes to all three, code animation is a good fit. If you need one realistic clip, a generated video is the faster tool. If you are building a channel without showing your face, read about faceless content.
Tools that fit this workflow
One tool is required; the rest are optional. This table lists public facts only, so check each project's own page for current terms.
| Tool | What it is | Good at |
|---|---|---|
| Remotion | Library that renders React components to video | Vertical 2D video, text, captions, audio |
| Three.js | JavaScript library for 3D graphics in the browser | 3D objects and camera moves; video is captured separately |
| Motion Canvas | Open-source TypeScript library for animated explainers | Timeline-style explainers |
| Manim | Open-source Python library | Maths, graphs and geometry |
| Claude Motion | Anthropic's built-in animation feature, in beta on Team and Enterprise plans | Quick animations from a chat, exported as MP4 |
Start with Remotion for a vertical 2D short and add Three.js only when a scene needs depth.
Where to go next
For more guides like this one, see faceless video tutorials.
Frequently asked questions
- What is Claude code animation?
- Claude code animation means using Claude Code to write and run the code that draws a video. Claude does not generate video footage. It writes the program, and a renderer such as Remotion turns that program into an MP4.
- Do I need to know how to program for code animation?
- Not much. You describe each scene in plain language, Claude Code writes and fixes the code, and you run one render command. You still install the tools and review each result before the next step.
- Is code animation the same as an AI video generator?
- No. An AI video generator predicts the pixels of a clip from a prompt. Code animation draws every frame from rules you can read and edit, so the same code gives the same video.